

front

back
side view
 apple
apple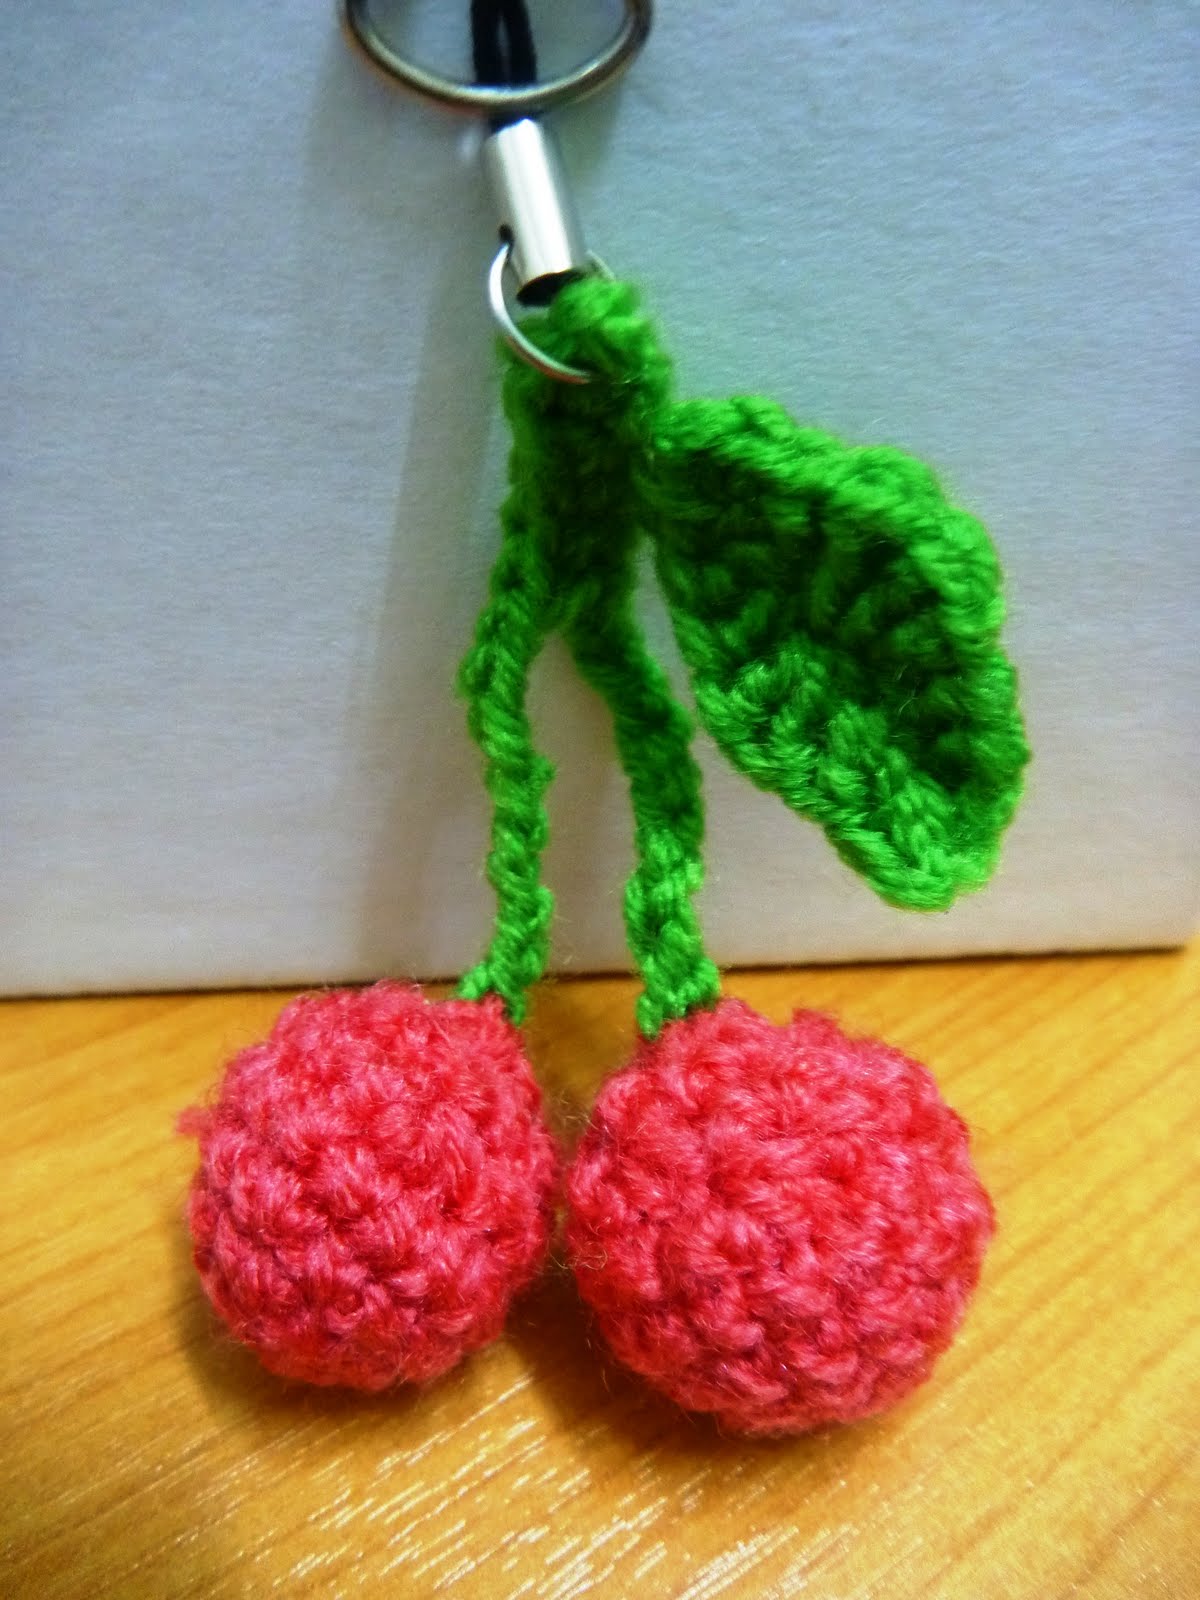 cherries
 orange
 owl
owl


Colourful yarns
 to my 1st customers who are the students from Taylor College and UPM (Special promotional price are given since they are my sisters' friends). They ordered a number of 3D crochet handphone charms. I will diligently try to complete all the orders as quickly as I could... and with the best handmade quality that will meet your satisfaction (chewah!!)


 Beautiful and bright coloured yarns. Bought them for my crochet project.
 Too many buttons in the shop that made me so confused and ended up with some colours that I already had at home.
 I first got the idea to make this polka dots ribbon flower when I was looking at a whole bunch of unused ribbons and buttons at my home. The ribbons are so colourful and fancy and made me feel guilty to throw them away. Therefore, I wanted to make something useful and cute out of the ribbons. This DIY flower is very easy to make and it took me 10 minutes only to make one. Dont worry about the sewing skill needed as it only requires the most basic skill in sewing. Happy sewing!!!
 1. Ribbons
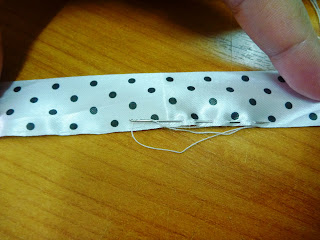 1. Sew a few rough stitches along the end of the ribbon. The length of the ribbon depends on how big the flower you want. The longer the ribbon, the bigger your flower will be.


1. clear PVC stickers or any kind of clear sticker will do
2. a bundle of colourful Sharpie markers or permanent markers
3. any doodle of pattern that you like ( i'm using this really cute pattern from RedVelvetart.com)
Instructions:
1. Cut the clear sticker according to the size or bigger than the pattern that you like.
2. Trace the pattern using permanent marker i.e Sharpie


2. Instructions:
Since i'm too lazy to post the step-by-step pics, you can visit this links (part 1) and (part 2) for the tutorial part. Hehe This was how my kusudama looked like before i glued them together. Each half must have 6 kusudama parts glued together.
I made some paper beads to add some wow factor to my kusudama. Click here to know how to make paper beads. I used a blue ribbon to string the paper beads and sparkly beads. Then, i glued the ribbon to the kusudama ball.

This is how your kusudama looks like after you glue all the parts together with the beads. This is the home for my kusudama. Now, my Wish has a new cheerful and colourful friend!! Besides, my eyes are no longer feel boring while i'm driving my car. It is like a therapy when you feel tired looking at the road and cars while driving and you have something colourful to cheer you up. Why dont you try to make one yourself. It's time to get crafty!!!